
How to Insert Ink Cartridge in Fountain Pens Properly
A fountain pen usually comes with an ink cartridge when you first purchase the pen. As time goes on and you use the pen to write, the ink will drain, and you’ll need to replace the cartridge. But how do you properly insert ink cartridge in a fountain pen?
If you’ve ever seen a fountain pen in the past few decades, you may have it confused with being dipped into a bottle of ink. While that method is still available, it’s easier to replace a cartridge. However, not all cartridges fit into every fountain pen, which is why we’ve made a guide on how to replace one.
How to Insert Ink Cartridge in Fountain Pens: The Recommended Method
1. Find Out the Required Cartridge
As we’ve mentioned, not every cartridge fits into each fountain pen. Usually, when you purchase the pen, it will come with a brand or a list that indicates the type of replacement cartridge needed. In case you’ve owned the pen for a while or don’t know the cartridge size, you may have to try multiple ones until you find the one that fits.
A majority of cartridges use a “standard international” size, but higher priced brands of fountain pens tend to use a cartridge that is only manufactured by the same company, as this will increase their revenue. If you have to make a guess, we’d say you have to look at the company that created the pen, and check if they have cartridges in stock.
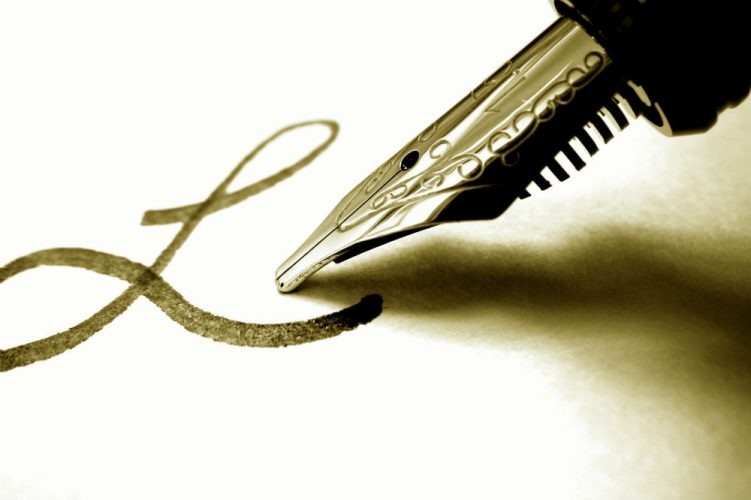
2. Taking the Pen Apart
Once you have the correct size of the cartridge, it will be time to unscrew the grip from the main body of the pen. You can do this by twisting off the main body and cartridge section and twist the nib section the opposite way.
If there are any other sections, such as a converter, you may need to take these sections apart as well. Other brands also have specific parts that you will need to take down before you put the cartridge in. Once you have everything apart, you can move onto the next step.
3. Insert the Cartridge
Take the time to look at each section of the pen. If you carefully look at the nib section, you’ll see a place where you can insert the replacement ink cartridge. An indicator of where to place the cartridge is a small needle that injects into the cartridge and leads the ink into the nib.
Take the smaller end of the cartridge and press it down onto the needle. At this point, you’ll feel a slight puncture or hear a little click. Either way, you’ll know when the replacement is attached, as it will stay in place.
4. Allow the Ink to Travel
Don’t panic if you can’t get the pen to write right away. Chances are you’ll need to wait a bit before the ink travels from the cartridge to the nib of the pen. The ink will slowly move until it feeds through the nib and onto the paper.
If you’re struggling to get the ink flowing, we recommend holding it in a vertical position, which can help the ink travel a bit faster. If that doesn’t work, then it may be time to check for where you went wrong.
5. Put Everything Back Together
Once everything is put together, you can then attach the other piece. Move the fountain pen horizontally and make sure that all of the pen lines up; otherwise, you may have a problem as to why the ink isn’t working in the first place.

6. Prime the Cartridge
Sometimes you may need to take a little extra step to get the ink flowing again. This is called “priming” the nib.
Basically, you will need to compress or squeeze the ink cartridge and pull it down. You don’t want to burst the replacement ink container but should at least put enough force for some ink to start linking out of the nib.
Standard international long cartridges tend to hold the most ink and will last a long time. The problem is they do take a bit of time before they start to produce ink. On the other hand, standard international short works for most small fountain pens, and they often start to run ink right after you’ve done a few swipe testing.
The last type is a proprietary type which is the rarest and challenging to get to work. Nonetheless, if you’ve tried all of those methods, then chances are your fountain pen is clogged from previous use, which means you’ll have to take the time to clean it.
Conclusion
As you can see, replacing the cartridge of your fountain pen isn’t that difficult. It just can be intimidating at times because you don’t understand how to take it apart or where to start when it comes to searching for a replacement. That being said it’s not impossible, and once you’ve read our guide, then you’ll be ready to go with how to insert ink cartridge in fountain pens.